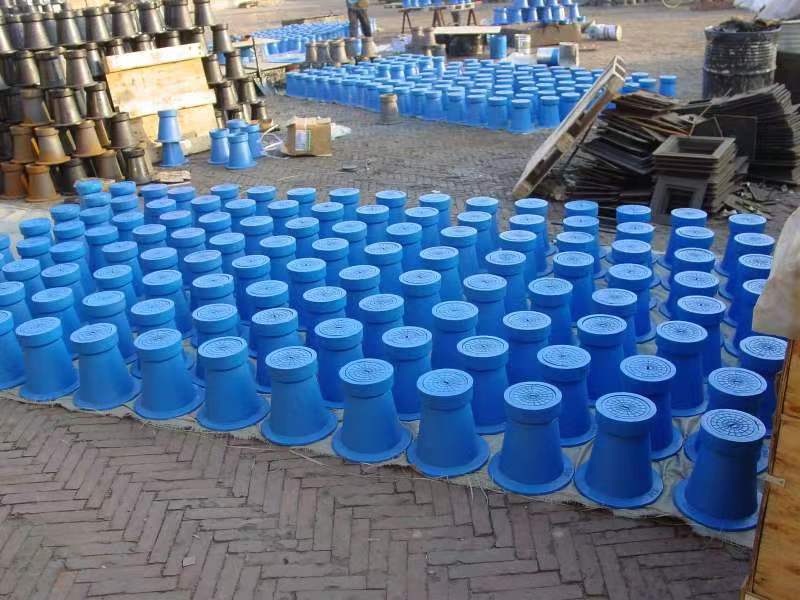
installing a bollard
Installing a Bollard A Comprehensive Guide
Bollards are short, sturdy posts often used to control traffic, delineate spaces, or protect pedestrians in busy urban environments. Installing a bollard can enhance safety, improve aesthetic appeal, and serve various functional purposes. Whether you're a property manager, a municipal planner, or a homeowner, understanding the process of installing a bollard is essential. This article provides a step-by-step guide to installing a bollard effectively and safely.
Step 1 Determine the Purpose
Before you begin the installation process, clearly define the purpose of the bollard. Are you looking to prevent vehicle access to a pedestrian walkway, protect a building from accidental collisions, or simply enhance the landscaping? Knowing the purpose of the bollard will guide your choice of style, material, and placement.
Step 2 Selecting the Right Bollard
Bollards come in various shapes, sizes, and materials, including concrete, steel, and plastic. For heavy-duty applications, such as traffic control, a more robust material like steel is advisable. Conversely, for decorative purposes, lighter materials may suffice. Additionally, consider whether you want fixed, removable, or retractable bollards. Each type serves different needs and has specific installation requirements.
Step 3 Planning the Installation Site
Once you’ve selected the appropriate bollard, the next step is to evaluate the installation site. Check for underground utilities such as water pipes, gas lines, or electrical wiring. It’s crucial to ensure that your installation won't interfere with these services, which could lead to costly repairs or safety hazards.
Step 4 Gathering Tools and Materials
To install a bollard, you will need several basic tools and materials, including
- A measuring tape - A shovel or post hole digger - Concrete mix - Water - A level - A rubber mallet - Safety gear (gloves, goggles)
installing a bollard

Make sure to have everything on hand before you start the installation to streamline the process.
Step 5 Preparing the Site
Mark the location where the bollard will be installed. For multiple bollards, ensure that they are spaced evenly according to your design layout. Use a measuring tape to mark the positions accurately. Begin digging a hole that is approximately twice the diameter of the bollard and at least two feet deep, providing a stable base for the bollard.
Step 6 Installing the Bollard
Place the bollard in the center of the hole, ensuring it remains plumb and level. Pour the concrete mix around the bollard, following the manufacturer's instructions for the mix-to-water ratio. Use a level to ensure that the bollard remains upright as the concrete sets. Fill in the hole with soil if necessary and tamp it down to eliminate air pockets.
Step 7 Curing the Concrete
Allow the concrete to cure as per the instructions on the concrete mix packaging. Typically, this takes about 24 to 48 hours, depending on weather conditions. Avoid placing any stress on the bollard until the concrete has fully set.
Step 8 Finishing Touches
Once the bollard installation is complete, consider adding protective paint or reflective tape for increased visibility. This step is especially important in high-traffic areas where visibility may be compromised.
Conclusion
Installing a bollard can significantly enhance safety and functionality in various settings. By following these steps—determining the purpose, selecting the right material, preparing the site, and properly installing the bollard—you can ensure a successful installation that meets your needs. Whether for residential or commercial purposes, a well-installed bollard contributes to a safer and more organized environment. Always remember to prioritize safety and adhere to local regulations during the installation process.
-
The Essential Component for Safe Urban InfrastructureNewsMay.14,2025
-
The Backbone of Urban InfrastructureNewsMay.14,2025
-
Practical and Stylish Solutions for Your Drainage NeedsNewsMay.14,2025
-
Lamphole Frame and Cover: Essential for Urban InfrastructureNewsMay.14,2025
-
A Seamless and Aesthetic SolutionNewsMay.14,2025
-
A Must-Have for Safety and DurabilityNewsMay.14,2025
-
Pipe Repair Clamps: Your Ultimate Solution for Efficient RepairsNewsMay.09,2025
