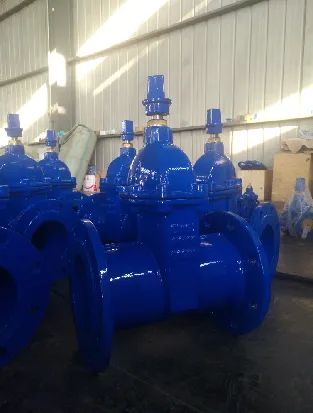
clamp to fix leaking pipe
How to Fix a Leaking Pipe The Essential Guide to Clamping
A leaking pipe can lead to serious water damage and costly repairs if not addressed promptly. Whether it’s a small drip or a steady stream, finding a quick and effective solution is critical. One commonly used method to fix a leaking pipe is through clamping. In this article, we’ll discuss what clamping is, how to do it, and when to seek professional help.
Understanding Clamp Repair
Clamping involves using a mechanical device to provide temporary or permanent support to a leaking pipe. The clamp applies pressure around the pipe, sealing off the leak and preventing further water escape. This method is particularly useful for small leaks and can be done quickly, making it an ideal first step in addressing a plumbing issue.
Materials Needed
Before you start the clamping process, gather the necessary materials 1. Pipe clamp (choose the appropriate size for your pipe) 2. Hose clamp (for smaller leaks) 3. Rubber patch or gasket (optional, for additional sealing) 4. Wrench or screwdriver (depending on the type of clamp) 5. Towels or rags (to soak up any excess water)
Step-by-Step Guide to Clamping a Leaking Pipe
1. Turn Off the Water Supply Before you do anything, make sure to turn off the water supply to the affected area. This will prevent further leakage and allow you to work without the pressure of flowing water.
2. Identify the Leak Inspect the pipe thoroughly to locate the precise spot of the leak. Dry the area around the leak with a towel to easily identify the source and to ensure the clamp adheres properly.
clamp to fix leaking pipe

3. Choose the Right Clamp Selecting the appropriate clamp is crucial. For small leaks, a hose clamp may suffice, while larger leaks might require a robust pipe clamp. Ensure that the clamp you select fits the diameter of your pipe.
4. Apply a Rubber Patch (if necessary) For extra sealing, you can place a piece of rubber or a gasket over the leaking section of the pipe. This acts as a cushion and enhances the clamping effect.
5. Position the Clamp Center the clamp over the leaking area. If you’re using a hose clamp, position it around the leakage spot, ensuring it covers the rubber patch if you’ve used one.
6. Tighten the Clamp Using a wrench or screwdriver, tighten the clamp firmly but not excessively. The goal is to create a snug seal without damaging the pipe. Check for any signs of further leakage and adjust as necessary.
7. Turn the Water Back On Once the clamp is securely in place, slowly turn the water supply back on. Observe the patched area for leaks to ensure the repair is effective.
When to Seek Professional Help
While clamping can effectively handle small leaks, it is not a long-term solution for significant plumbing issues. If you encounter recurring leaks, or if the damage appears extensive, it’s crucial to consult a professional plumber. They can assess the situation, provide a permanent fix, and ensure that your plumbing system remains in top condition.
Conclusion
Fixing a leaking pipe using clamps can save time and money in the short term. However, understanding the limitations of this method is important for maintaining proper plumbing health. Always monitor the repaired area and seek professional assistance if issues persist. With the right tools and techniques, many homeowners can successfully address minor leaks while ensuring their homes remain safe and dry.
-
The Smarter Choice for Pedestrian AreasNewsJun.30,2025
-
The Gold Standard in Round Drain CoversNewsJun.30,2025
-
The Gold Standard in Manhole Cover SystemsNewsJun.30,2025
-
Superior Drainage Solutions with Premium Gully GratesNewsJun.30,2025
-
Superior Drainage Solutions for Global InfrastructureNewsJun.30,2025
-
Square Manhole Solutions for Modern InfrastructureNewsJun.30,2025
-
Premium Manhole Covers for Modern InfrastructureNewsJun.30,2025
